Thursday, March 23, 2017

Storing Memories in the Miniature World of Harry Potter

For several years, I have been thinking about how to create this in miniature...
As you might guess, I spend a lot of time online looking at miniatures and I came across this little cabinet...
 which I thought I might be able to transfigure into something a bit more elaborate.  First it needed to be gilded. And then I began to add some ornate elements made out of sculpey and beads.
The brooms and chocolate frogs will all be baked together.  The chocolate frogs are a much larger scale sized for an American Girl doll.
I could not get the sculpey to form a sharp point, so added beads to cap the arches.
Beginning to look like the inspiration photo!
Shopping for little glass vials to hold the memories made me wonder why I ever thought Dumbledore's office even needed this cabinet!  $6.00 to $8.00 dollars apiece stymied me for awhile.  Then, when I was cleaning out a drawer, I discovered a small package of replacement bulbs for a vintage set of Christmas lights...long ago thrown away.  Prying the bulbs out of their ugly green plastic holders and gluing them into silver beads made a pretty convincing little glass container.  Sadly, I neglected to determine that all the shelves in my cabinet were the same size and the top shelf was too short to hold these.  Thank goodness the glue was not yet set up and I pulled the bulbs back out and went in search of shorter beads.  No shorter beads but I did find some silver grommets that were just the right size.

I left the taller beads on the bottom vials since the wood part of the cabinet made raising the height of those important in order to be see with the doors closed.  

Altogether this was much easier than building the cabinet from scratch, and although not exactly a replica, I bet none of the children at Harry Potter camp this summer will know the difference! Although some obsessed Harry Potter fans might...

If any of you have an old set of Christmas tree lights (clear white) that you are planning to replace with LED's, I would love to have many more memory vials since the original cabinet had hundreds of vials.  My cabinet could hold 12 per shelf and I only have 9.  

Did I say Harry Potter Camp?
Shopping in Diagon Alley
Indeed I did.  Every summer for the past ten years, I have helped to organize and run a week long fantasy camp at Camp Stoney.  This year it will be during the Fourth of July week.  Camp Stoney is just a bit east of Santa Fe, New Mexico.  It is for children from grades three through eight.  For more information visit http://www.bishopsridge.org/camp-stoney.html
This is a Christian camp which includes worship and Bible study each day along with the magical world of Harry Potter re-created in props, plays, crafts, Quidditch, classes on potions, wand practice, care of magical creatures, divination (and yes, we talk about how only God really knows the future), astronomy, herbology, and runes.  The staff all wear costumes and play the parts of professors and prefects.  

One summer a younger camper came up to me at the end of the week and said, "Professor McGonagle, the lady they got to play you in the movie doesn't look a thing like you!"  Somewhat taken aback it took me a moment to respond, "Honey, you know that we have just been pretending this week?  I am not REALLY Professor McGonagle."  If only I could have stored all the memories of Camp Stoney more efficiently than just a few photos and my somewhat limited recall from weeks packed so full of fun and friendship.
 

Tuesday, March 21, 2017

Gryffindor Great Room Update

In my last post, I showed
photos of the Great Room in it's beginning stages and then began to work on the fireplace.

 First I had to coat the fireplace with a primer paint developed for plastic, which I purchased at a hobby shop specializing in car and train models.  Now other paints and glues will stick to the plastic.

I wanted to add the Gryffindor crest to the mantel, so captured an image of it from the internet and resized it.  Then began to build it up with sculpey to make it three dimensional.
  I was surprised to find that the sculpey stuck pretty well to the paper after it was baked.  I just had to glue a few pieces back on.

Even with the crest, I thought the large expanse of the fireplace could use a little breaking up, so made a bit more decoration for it.
I also added a stone back wall and now need to go outside and gather some wood to build a fire!  I think a fire grate made from silver dragon charms or maybe gargoyles would be just the right touch, so will be searching for something the right scale next time I am in town. Oh, and I need to glue some of the marbles (really seed beads) from the box onto the Parcheesi board.

How many of you noticed that the crest is crooked?  I glued it on and went to bed.  It was straight when I put it on, but did not realize that my glue would not dry quickly and that weight and gravity would make it move.  Now it is firmly attached.  Wonder how much it will irritate me? And do I want to craft a whole new crest, because I am pretty sure will not survive being pried off?
 

Friday, March 17, 2017

WHAT is wrong with this picture of the Gryffindor Great Room?

Usually when I begin a miniature build, I put furniture and accessories into the space so I can visualize the end result... and magic happens.  In this case, the magic is missing.  "Why?", I kept wondering.  And finally it hit me.  Everything looks too new! Of course the raw plastic fireplace dominates the photo and screams to be coated with plaster and soot, but every thing else, except the study table to the left, looks as though there was never a messy teen aged witch or wizard anywhere close, so now I must figure out a way to distress the furniture.  Some time ago, I read in a miniature blog about using a nail file on upholstery to make it look worn. I tried to find that blog again to see if there were more details, but sadly could not.  If only I had pinned it on my Pinterest boards.  Some spots on the oriental rug would be good as well?

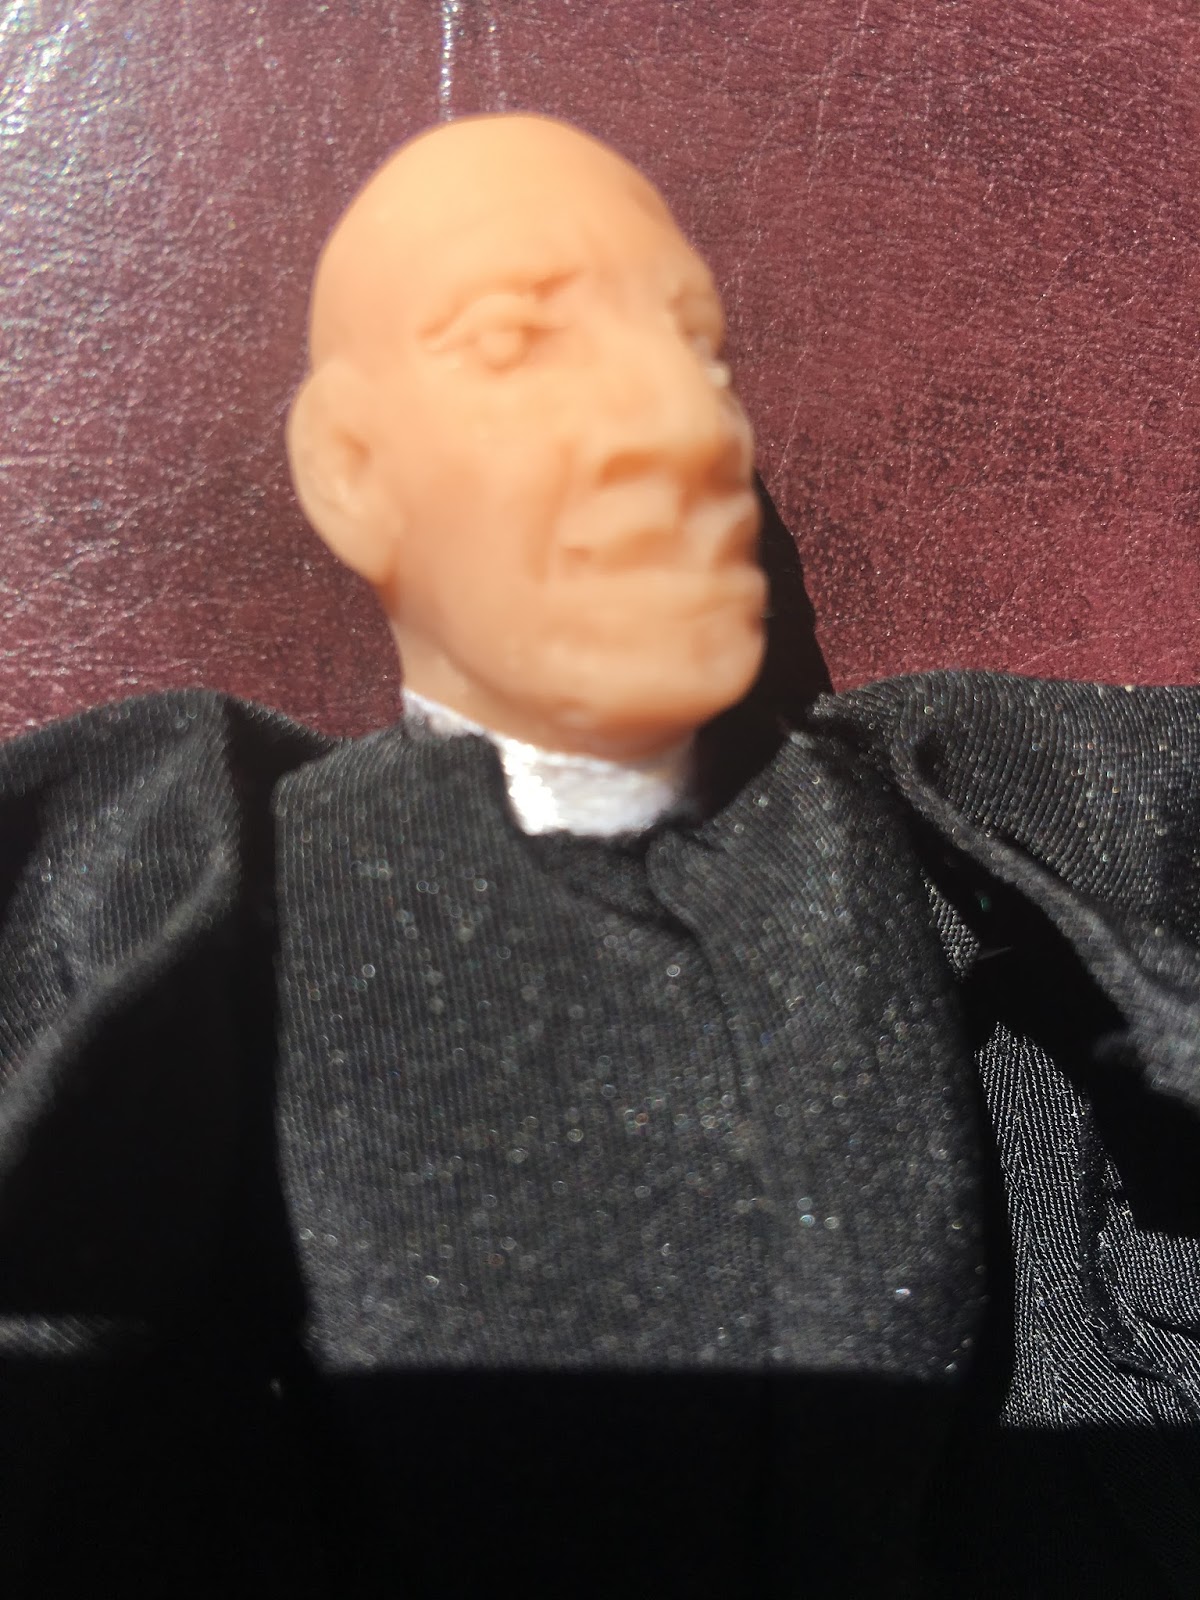
I began with the portrait of a young Professor McGonagle, since I was too busy yesterday with birthday celebrations to take on anything difficult.

 This little frame was ordered from Minimum World Ltd in England, along with several others, because of its ornate details, which you need sunglasses to see because it is so very, very shiny! So I got out my black acrylic paint to dampen down the shine.

 Better, but I think I still need to add a few white specs to represent the chips that must happen to all ornate gold frames over the years.  This frame is plastic, so I need to make a trip to a hobby shop and pick up some paint that will stick better than acrylic. The green color is reflected from an Arches watercolor pad I was using to block some of the sunlight so there was not so much glare on the glass.  I like that color and may try to add it as well.

I will also use those paints to distress the very bright and shiny light fixtures which will be installed once the walls and ceilings are finished.  I choose to purchase battery operated Led light fixtures because then wires do not have to be hidden.  As yet, there is not a huge selection of these, so I will modify what I could find. I love the shapes of them, just not the finish, except for the copper ones which could be used just a they are, but I intend to add a wash of verdigri to patina them.

   
They came very well packaged, unlike the beds for the girls dormitory that needed some re-gluing after traveling from China in very flimsy boxes.
This little quilt is the practice quilt that my friend Rhoda made to check for size.  It will be replaced with one that more closely matches the Gryffindor colors. 


I am hoping that when my friend Jo Anne returns from her trip rafting the Grand Canyon, she will knit some tiny little house scarves to add to the scene, and of course there must be plates of half eaten food here and there.  

I ordered some cunning little plastic takeout containers that actually close better than full-sized ones, but somehow, I don't think they will feel at home in Hogwarts, and the house elves would be horrified!  So I will fill them with Sculpey food and use them in the planned artist studio, the only 'thought about" adobe dollhouse, and make some for my granddaughter's dollhouses.
Tacos for the adobe dollhouse, yum!  But I digress, so off to work on that fireplace!

Wednesday, March 8, 2017

Dollmaking in the Miniature world of Harry Potter

Professor Sprout is now dressed and ready to be installed in the Miniature Greenhouse I created several years ago.  


Sprout is one of the four dolls that I made out of sculpey.  Her legs and arms can be positioned at the hip and shoulders, but I wish that I had jointed them at the elbows as well.  I am learning as I go!  All she needs is some darker eyebrows and the little tatted collar that is being created by a friend, Donna.  My friend, Barb, who is a wonderful creative quilter, helped to finish the dress after I made a mess of it.  She carefully removed the sleeves, trimmed them and then appliqued them back onto the dress, showing me how to use fray check to keep the fabric from coming apart, and a glue stick to hold things in place while sewing since God did not see fit to gift us with four or five hands!  Using some of these techniques, it was much easier to dress Professor Snape. Here is Professor Snape almost naked.  I sculpted him anatomically correct, but since some of my Sunday School class will be seeing this blog, I have added a modesty piece of fabric for this photo.  You will notice his arms are missing.  That is because it is much easier to dress a doll without the arms and then slide the arms up into the sleeve and over the wires. Either the sleeves are tight enough after the wrists are sewn together to keep them in place or if the sleeves are loose, you can get a syringe up inside to glue the sculpey arms to the wires.  I have not yet baked Snapes arms, and I have decided to joint them at the elbows with wire to that I can position them more realistically.
His pants will go on first, and then these leather pieces will be glued over to the pants and feet to make the boots.  The soles are made of black Sculpey. 


 Here you can see the boots, pants, vest, and clock. His collar is made from a small white ribbon glued around his neck.
Checking to see how Snape looks standing.
 Now we add his hair.  I had some very black straight doll hair, but it was hard to work with and looked a bit harsh, so (shh, don't tell) I cut a chunk from my own hair to wig Snape. 
 Now he need his arms glued onto the wires.